
Wiring XLR for VEXR (VESC OneWheel)
All VEXRs (VESC onewheels using the Future Motion XR platform) and associated chargers built and/or configured by PEV Dispensary LLC will follow the wiring diagrams and standards listed in the sections below.
- Full XLR Chart/Image
- Part Links
- 15s Battery (54v/63v)
- 18s Battery (64.8v/75.6v)
- 19s Battery (68.4v/79.8v)
- 20s Battery (72v Nominal/84v Max)
- Disclaimers
Full XLR Chart/Image

Parts
If you are placing an order from us, feel free to check if we have any of these items in stock. We may or may not sell these products in the store so I have provided links and part numbers below.
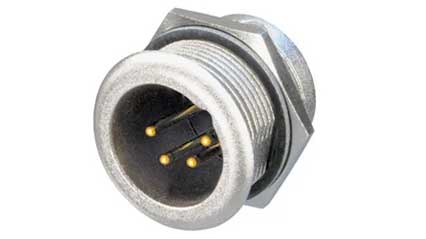
- 4 Pin Male XLR
- 4 Pin Female XLR
- Fuse - 10A/125V DC
- Schottky Diode - 10A/100V
- 3 Pin Male XLR (Neutrik - NC3MPR-HD)
- 3 Pin Female XLR (Neutrik - NC3FXX)
15s Battery (54v Nominal | 63v Max)

For 15s batteries we use a 3-pin Neutrik XLR to maintain functionality/compatibility with Future Motion OneWheel XR chargers.
I place a 10 amp 125v fuse inline with the positive wire coming off pin 3 on the backside of the 3 pin XLR.
Pin 2 is only used when utilizing a FM BMS in a VEXR build.
18s Battery (64.8v Nominal | 75.6v Max)

For 18s batteries we use a 4-pin Neutrik XLR to ensure that the many 3-pin XLR chargers that exist are not able to be easily plugged into a VEXR configured with a larger battery and potentially cause damage. We also wire the 4-pin XLR differently for each battery configuration.
I place a 10 amp 125v fuse inline with the positive wire coming off pin 3 on the backside of the 4 pin XLR.
19s Battery (68.4v Nominal | 79.8v Max)

For 19s batteries we use a 4-pin Neutrik XLR to ensure that the many 3-pin XLR chargers that exist are not able to be easily plugged into a VEXR configured with a larger battery and potentially cause damage. We also wire the 4-pin XLR differently for each battery configuration.
I place a 10 amp 125v fuse inline with the positive wire coming off pin 2 on the backside of the 4 pin XLR.
20s Battery (72v Nominal | 84v Max)

For 20s batteries we use a 4-pin Neutrik XLR to ensure that the many 3-pin XLR chargers that exist are not able to be easily plugged into a VEXR configured with a larger battery and potentially cause damage. We also wire the 4-pin XLR differently for each battery configuration.
I place a 10 amp 125v fuse inline with the positive wire coming off pin 4 on the backside of the 4 pin XLR.
Disclaimers
- I am in no way claiming that this is the best or safest way. When it comes to DIY builds and electronics one should always do their own research and come to their own conclusions what is safe and within their ability. Working with electronics can be dangerous and even deadly. If you are not comfortable working with electricity, then please hire a professional.
- XLR ports being used are not actually rated for the voltage and amps that we are pushing so by using this configuration you do so at your own risk. I will be looking for other options in the future that will work with XR rails.
- As an Amazon Associate I may earn from qualifying purchases that originate from any the affiliate links I have shared on this website.